Step 2: Create Employee Groups
Creating employee groups helps you classify employees based on different factors, such as job function, department, location, and position. You can also define salary structures at the employee group level to apply the same salary structure to an entire department, such as Marketing, R&D, Sales, and Accounts.
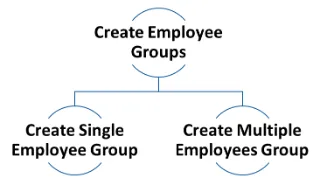
A. Create Single Employee Group in TallyPrime
1. Go to Gateway of Tally > Create > Employee Group > Single Group.
Alternatively, press Alt+G (Go To) > Create Master > Employee Group > and press Enter.
2. Enter the name of the employee group in the Name field.
3. Select the employee category from the Category list.
4. Select the group under which the employee group is to be added.
5. Set the option Define Salary Details to No.
6. Accept the screen. As always, press Ctrl+A to save.
The employee group will now be created and you can start adding employees to the group.
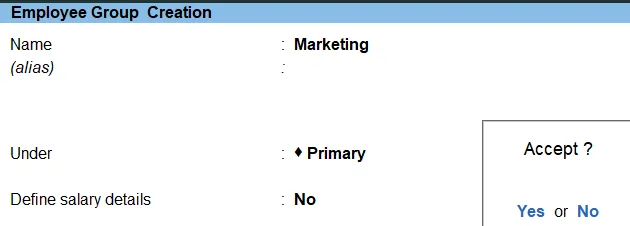
Here is an example of how to create a single employee group for the Marketing department:
- Go to Gateway of Tally > Create > Employee Group > Single Group.
- Enter Marketing in the Name field.
- Select Primary Cost Category from the Category list.
- Set the option Define Salary Details to No.
- Press Enter to save the employee group. The Employee Group Creation screen will appear.
The employee group Marketing will now be created, and you can start adding employees to the group.
B. Create Multiple Employee Groups in TallyPrime:
1. Go to Gateway of Tally > Create > Employee Group > Multiple Groups.
Alternatively, Press Alt+H (Multi Masters) > select Multi Create and press Enter.
2. Enter the name of the first employee group in the Name of Employee Group field.
3. Select the employee category from the Category list.
4. Set the option Define Salary Details to No.
5. Press Enter to add the employee group.
6. Repeat steps 2-5 to add all the required employee groups.
7. Once you have added all the required employee groups, press Ctrl+A to accept.
The Multi Employee Group Creation screen appears as shown below:
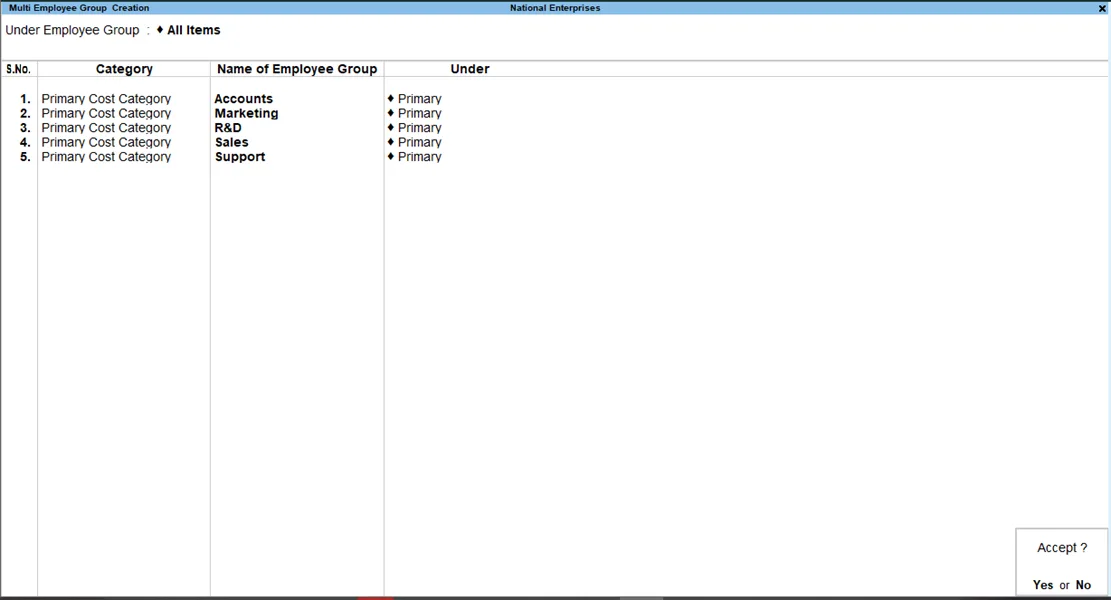
The employee groups will now be created, and you can start adding employees to the groups.
Here is an example of how to create multiple employee groups for the Marketing, Sales, and R&D departments:
1. Go to Gateway of Tally > Create > Employee Group > Multiple Groups.
2. Enter Marketing in the Name of Employee Group field.
3. Select Primary Cost Category from the Category list.
4. Set the option Define Salary Details to No.
5. Press Enter to add the employee group.
6. Enter Sales in the Name of Employee Group field.
7. Select Primary Cost Category from the Category list.
8. Set the option Define Salary Details to No.
9. Press Enter to add the employee group.
10. Enter R&D in the Name of Employee Group field.
11. Select Primary Cost Category from the Category list.
12. Set the option Define Salary Details to No.
13. Press Enter to add the employee group.
14. Once you have added all the required employee groups, press Ctrl+A to accept.
The employee groups Marketing, Sales, and R&D will now be created and you can start adding employees to the groups.
Step 3: Create Employees
TallyPrime’s employee master stores all employee information, including basic details, payment, statutory, and contract details.
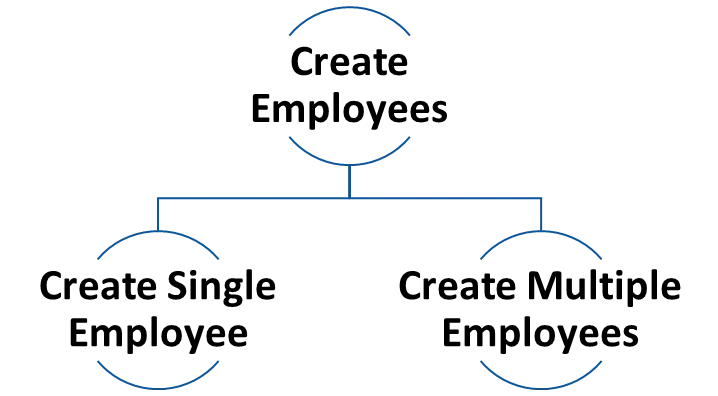
A. Create Single Employee in TallyPrime:
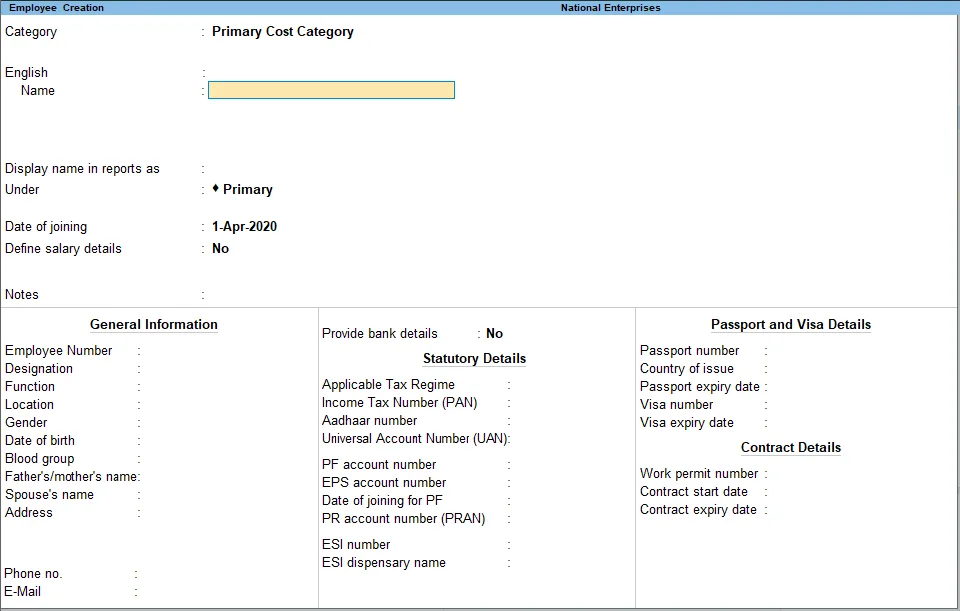
1. Go to Gateway of Tally > Create > Employee.
Alternatively, press Alt+G (Go To) > Create Master > Employee > and press Enter.
2. Enter the employee’s name, date of joining, and other basic information.
3. Select the employee group and employee category.
4. Set the Define salary details option to No and press Enter.
5. Press Ctrl+A and Enter to save the employee.
B. Create Multiple Employees:
1. Go to Gateway of Tally > Payroll Info.
2. Press Alt + H (Multi Masters) > Select > Multi Create and press Enter.
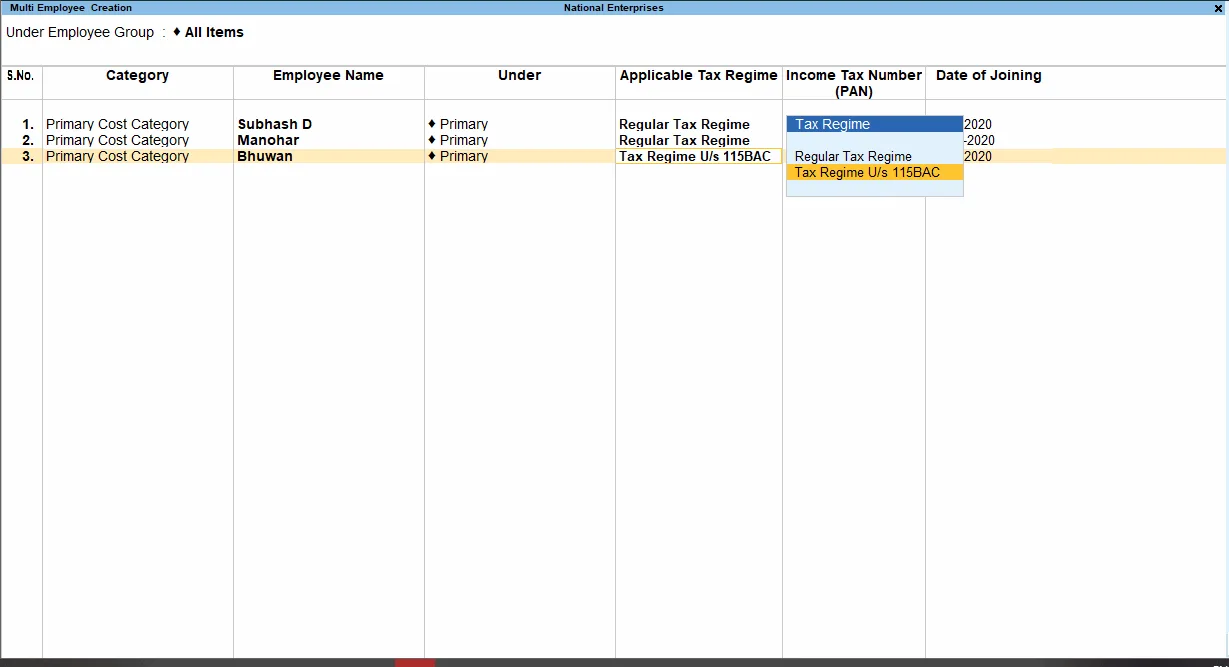
3. Select the employee group under which you want to create all the employees, in the Under Employee Group field. If you want to create an independent employee, select All Items in this field.
4. Select the employee category in which you want to add the group, in the Category field. The default category Primary Cost Category appears selected in this field.
5. Specify the name of the employee in the Employee Name field.
6. Select the employee group into which you want to add the employee in the Under field.
7. Set the Define salary details option to No and press Enter.
8. Press Ctrl+A to accept the changes